

Introducing

THE CALYX CANAL CONTROLLER
This is the gear we always wanted, so we built it ourselves
Bespoke Firmware: Using precision PWM you can dial in the exact RPM needed for your specific vessel size. Whether you're running a 10-gallon or a 30-gallon tank, the Canal remains consistent.
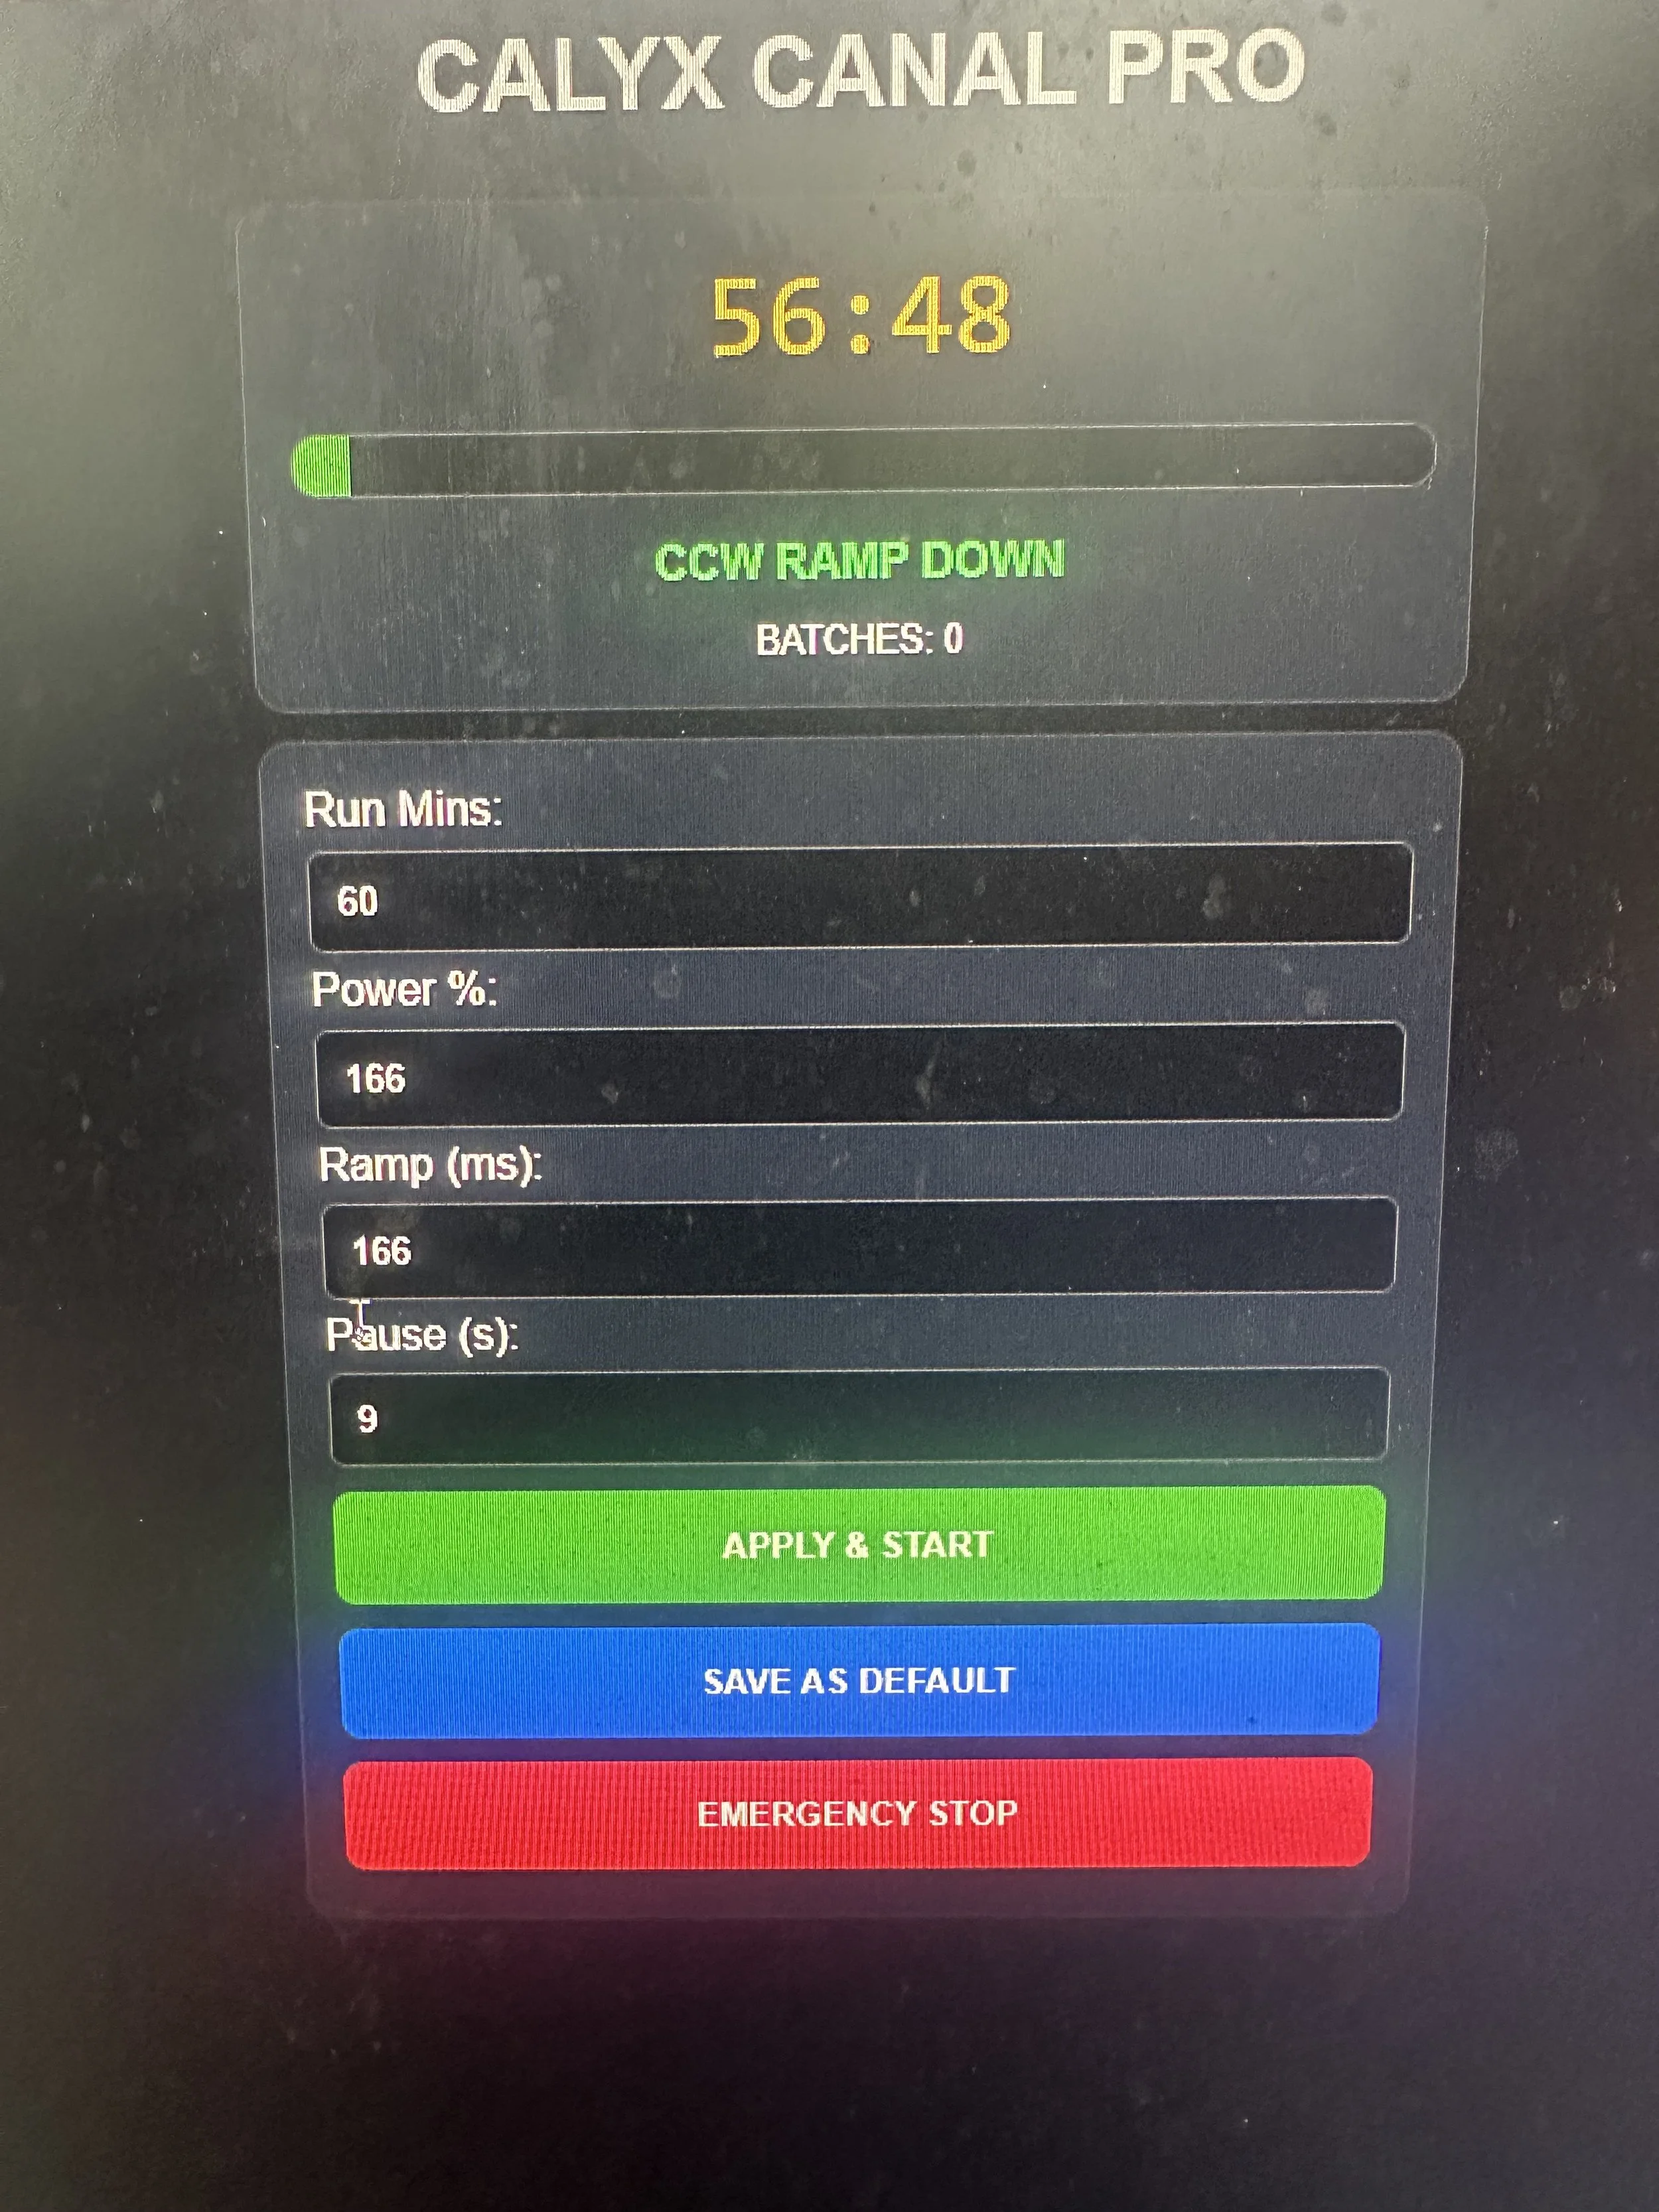
Directional Sequencing: The controller manages the back-and-forth"agitation cycles. Pauses allow the water to settle and the resin to drop, ensuring a clean separation before the next direction begins.
Engineered Affordably: We bridge the gap between high-end performance and real-world affordability. We’ve cut the corporate bloat to deliver elite lab tools at a price that keeps your operation lean and your results heavy.
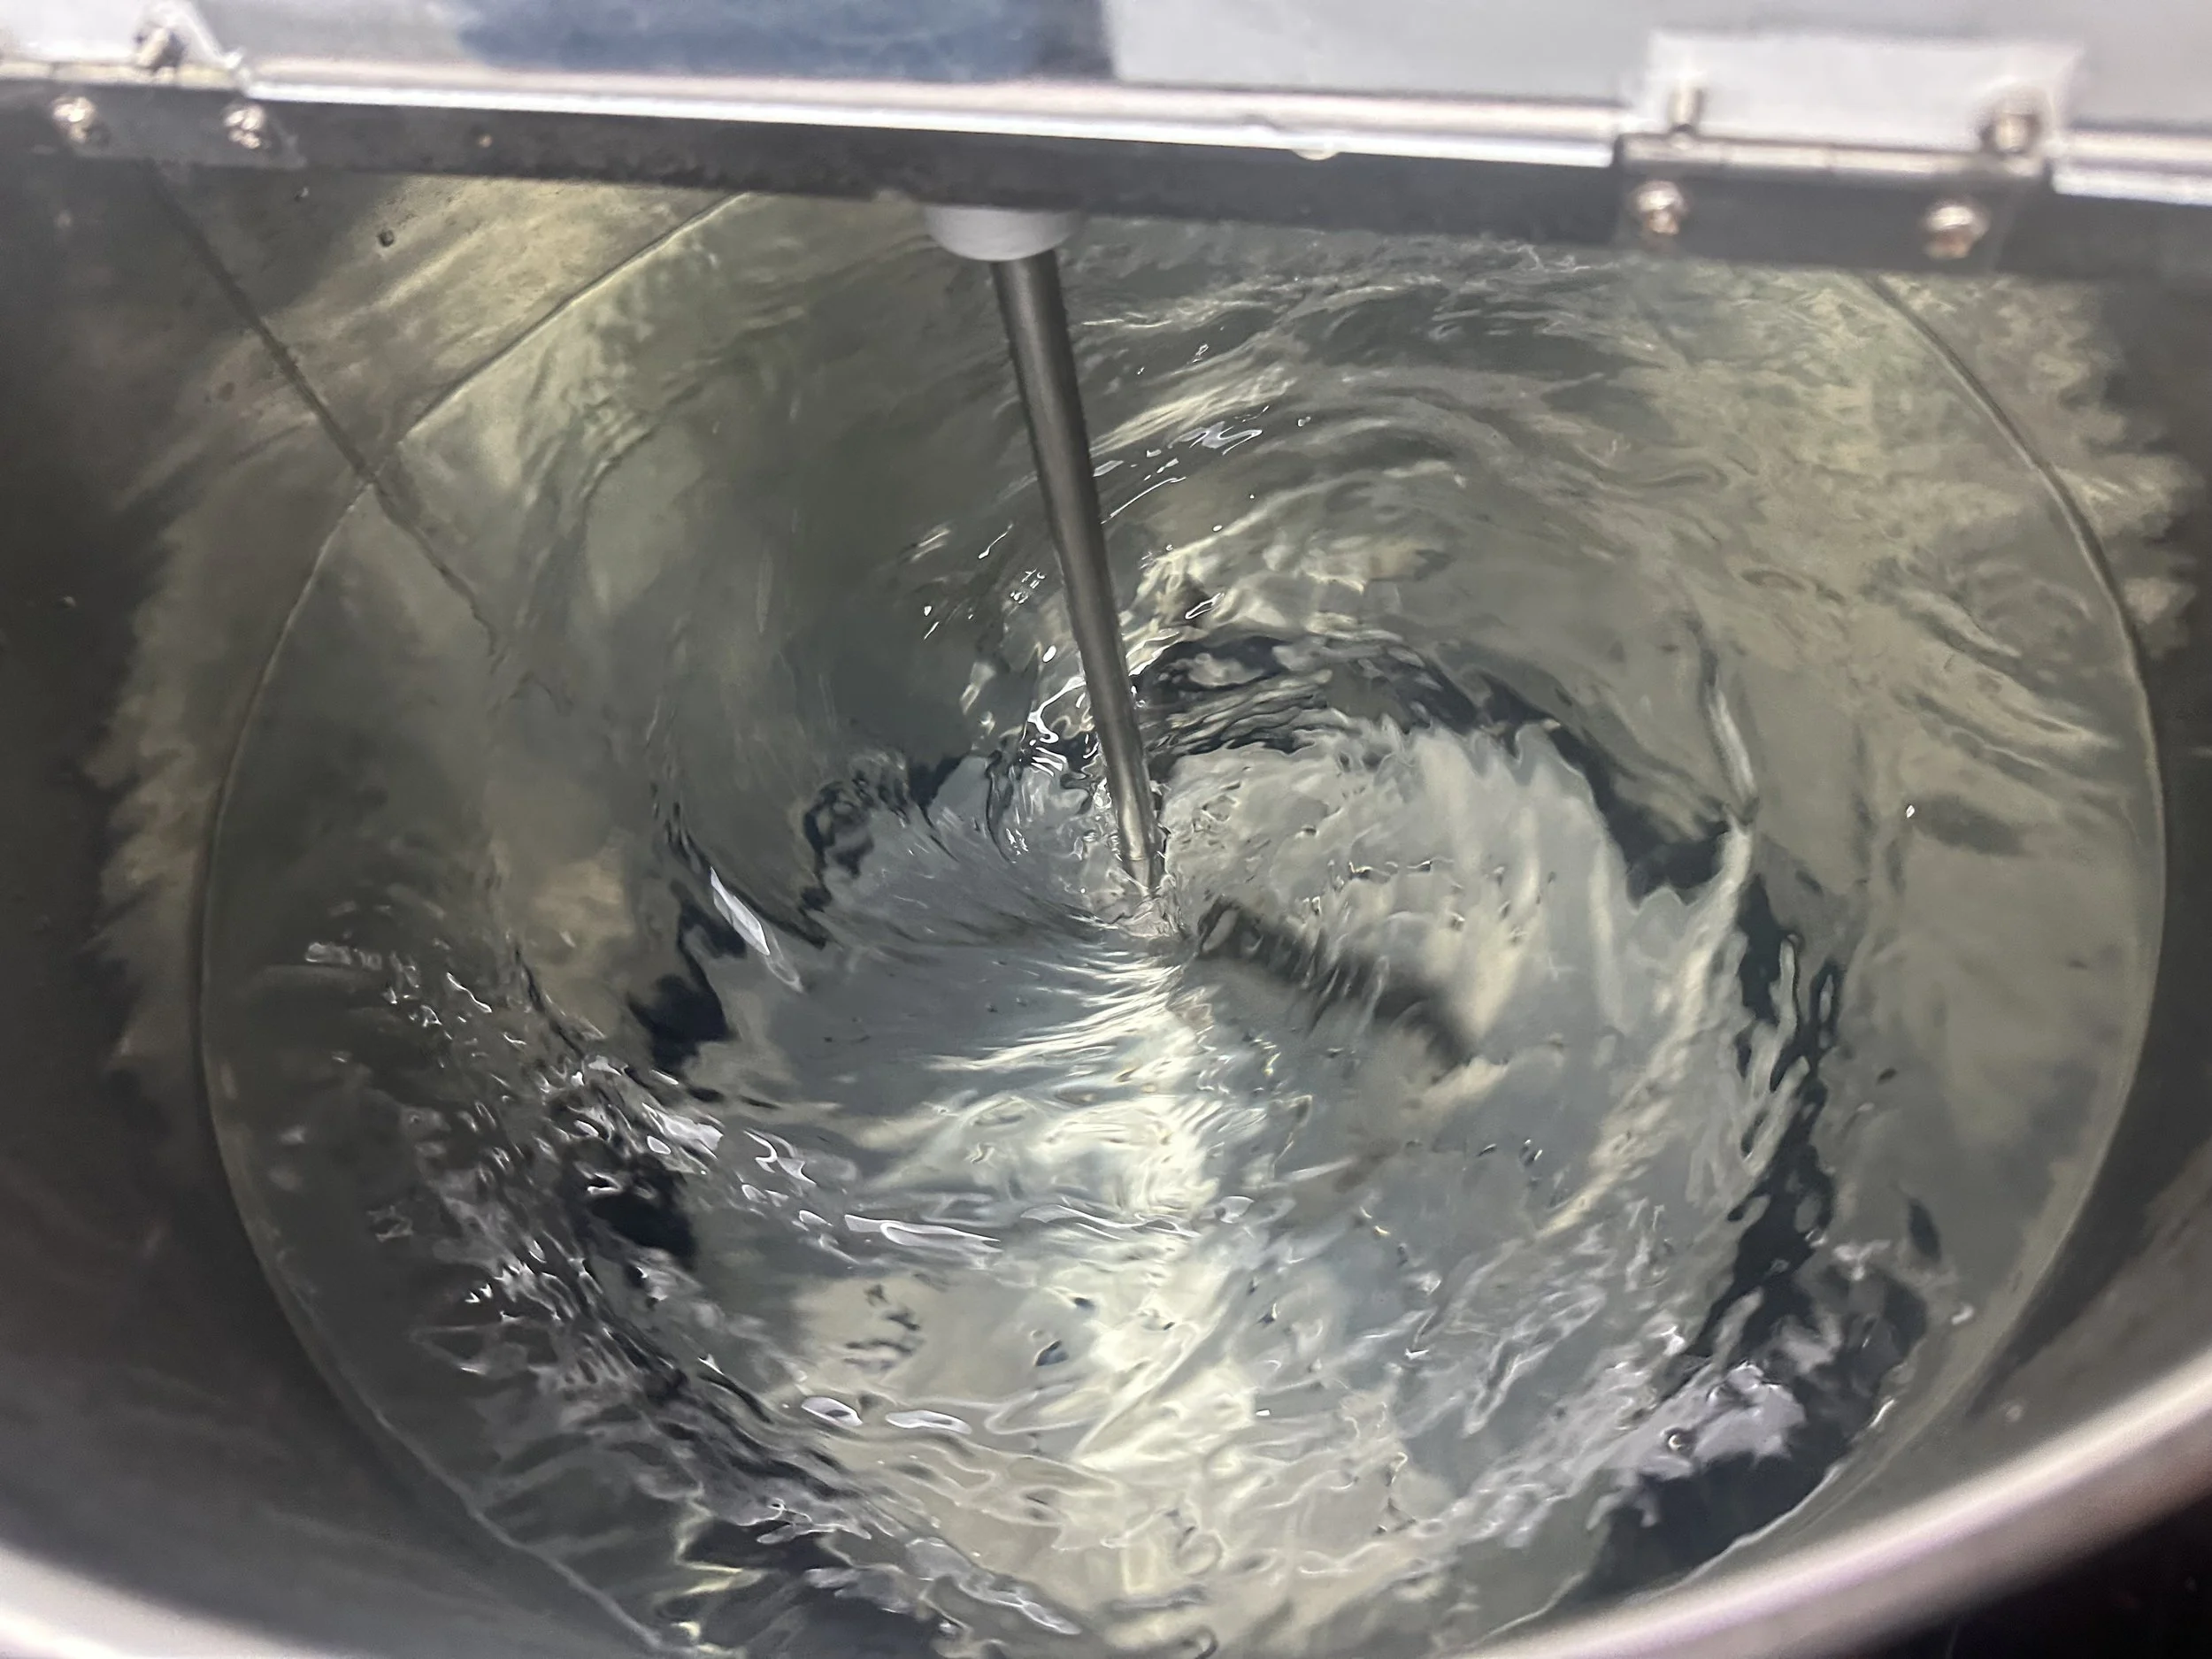
Non-Linear Agitation: Our Controller uses a ramped gradient. It gradually builds the vortex, and creates a natural flow within the vessel, gently lifting the frozen material into the Calyx Canal without the violent initial impact that shatters stalks.
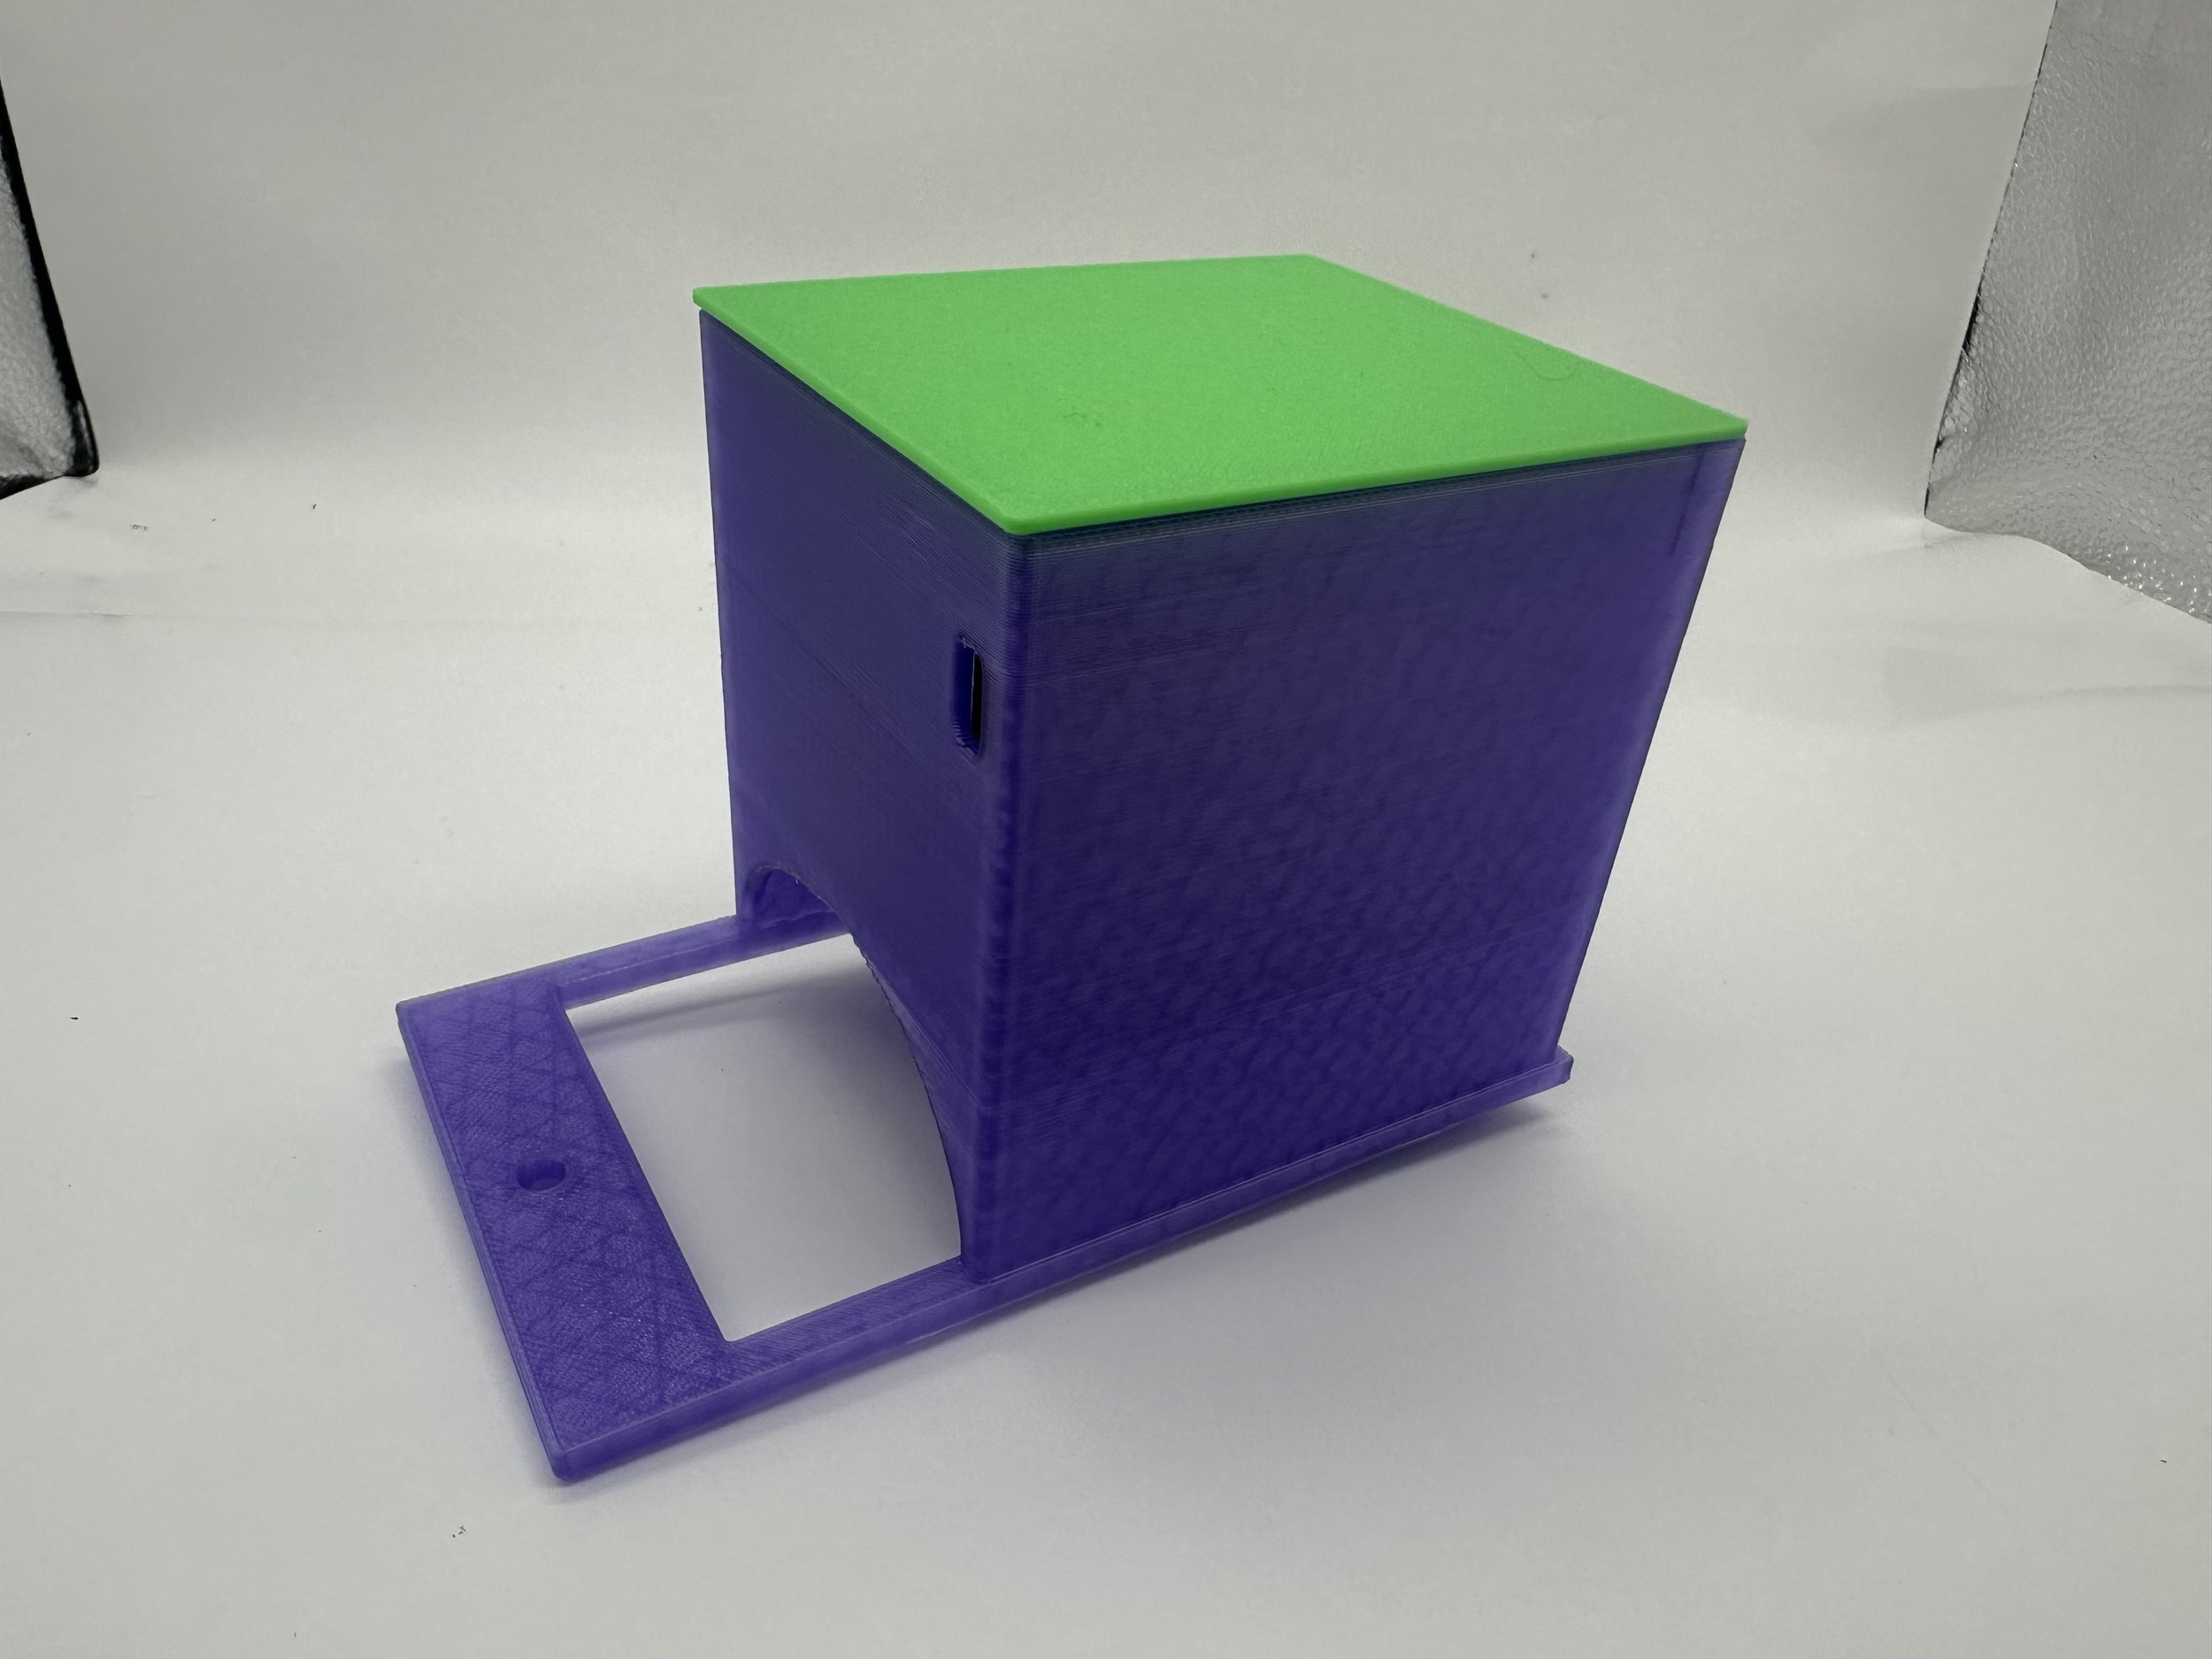
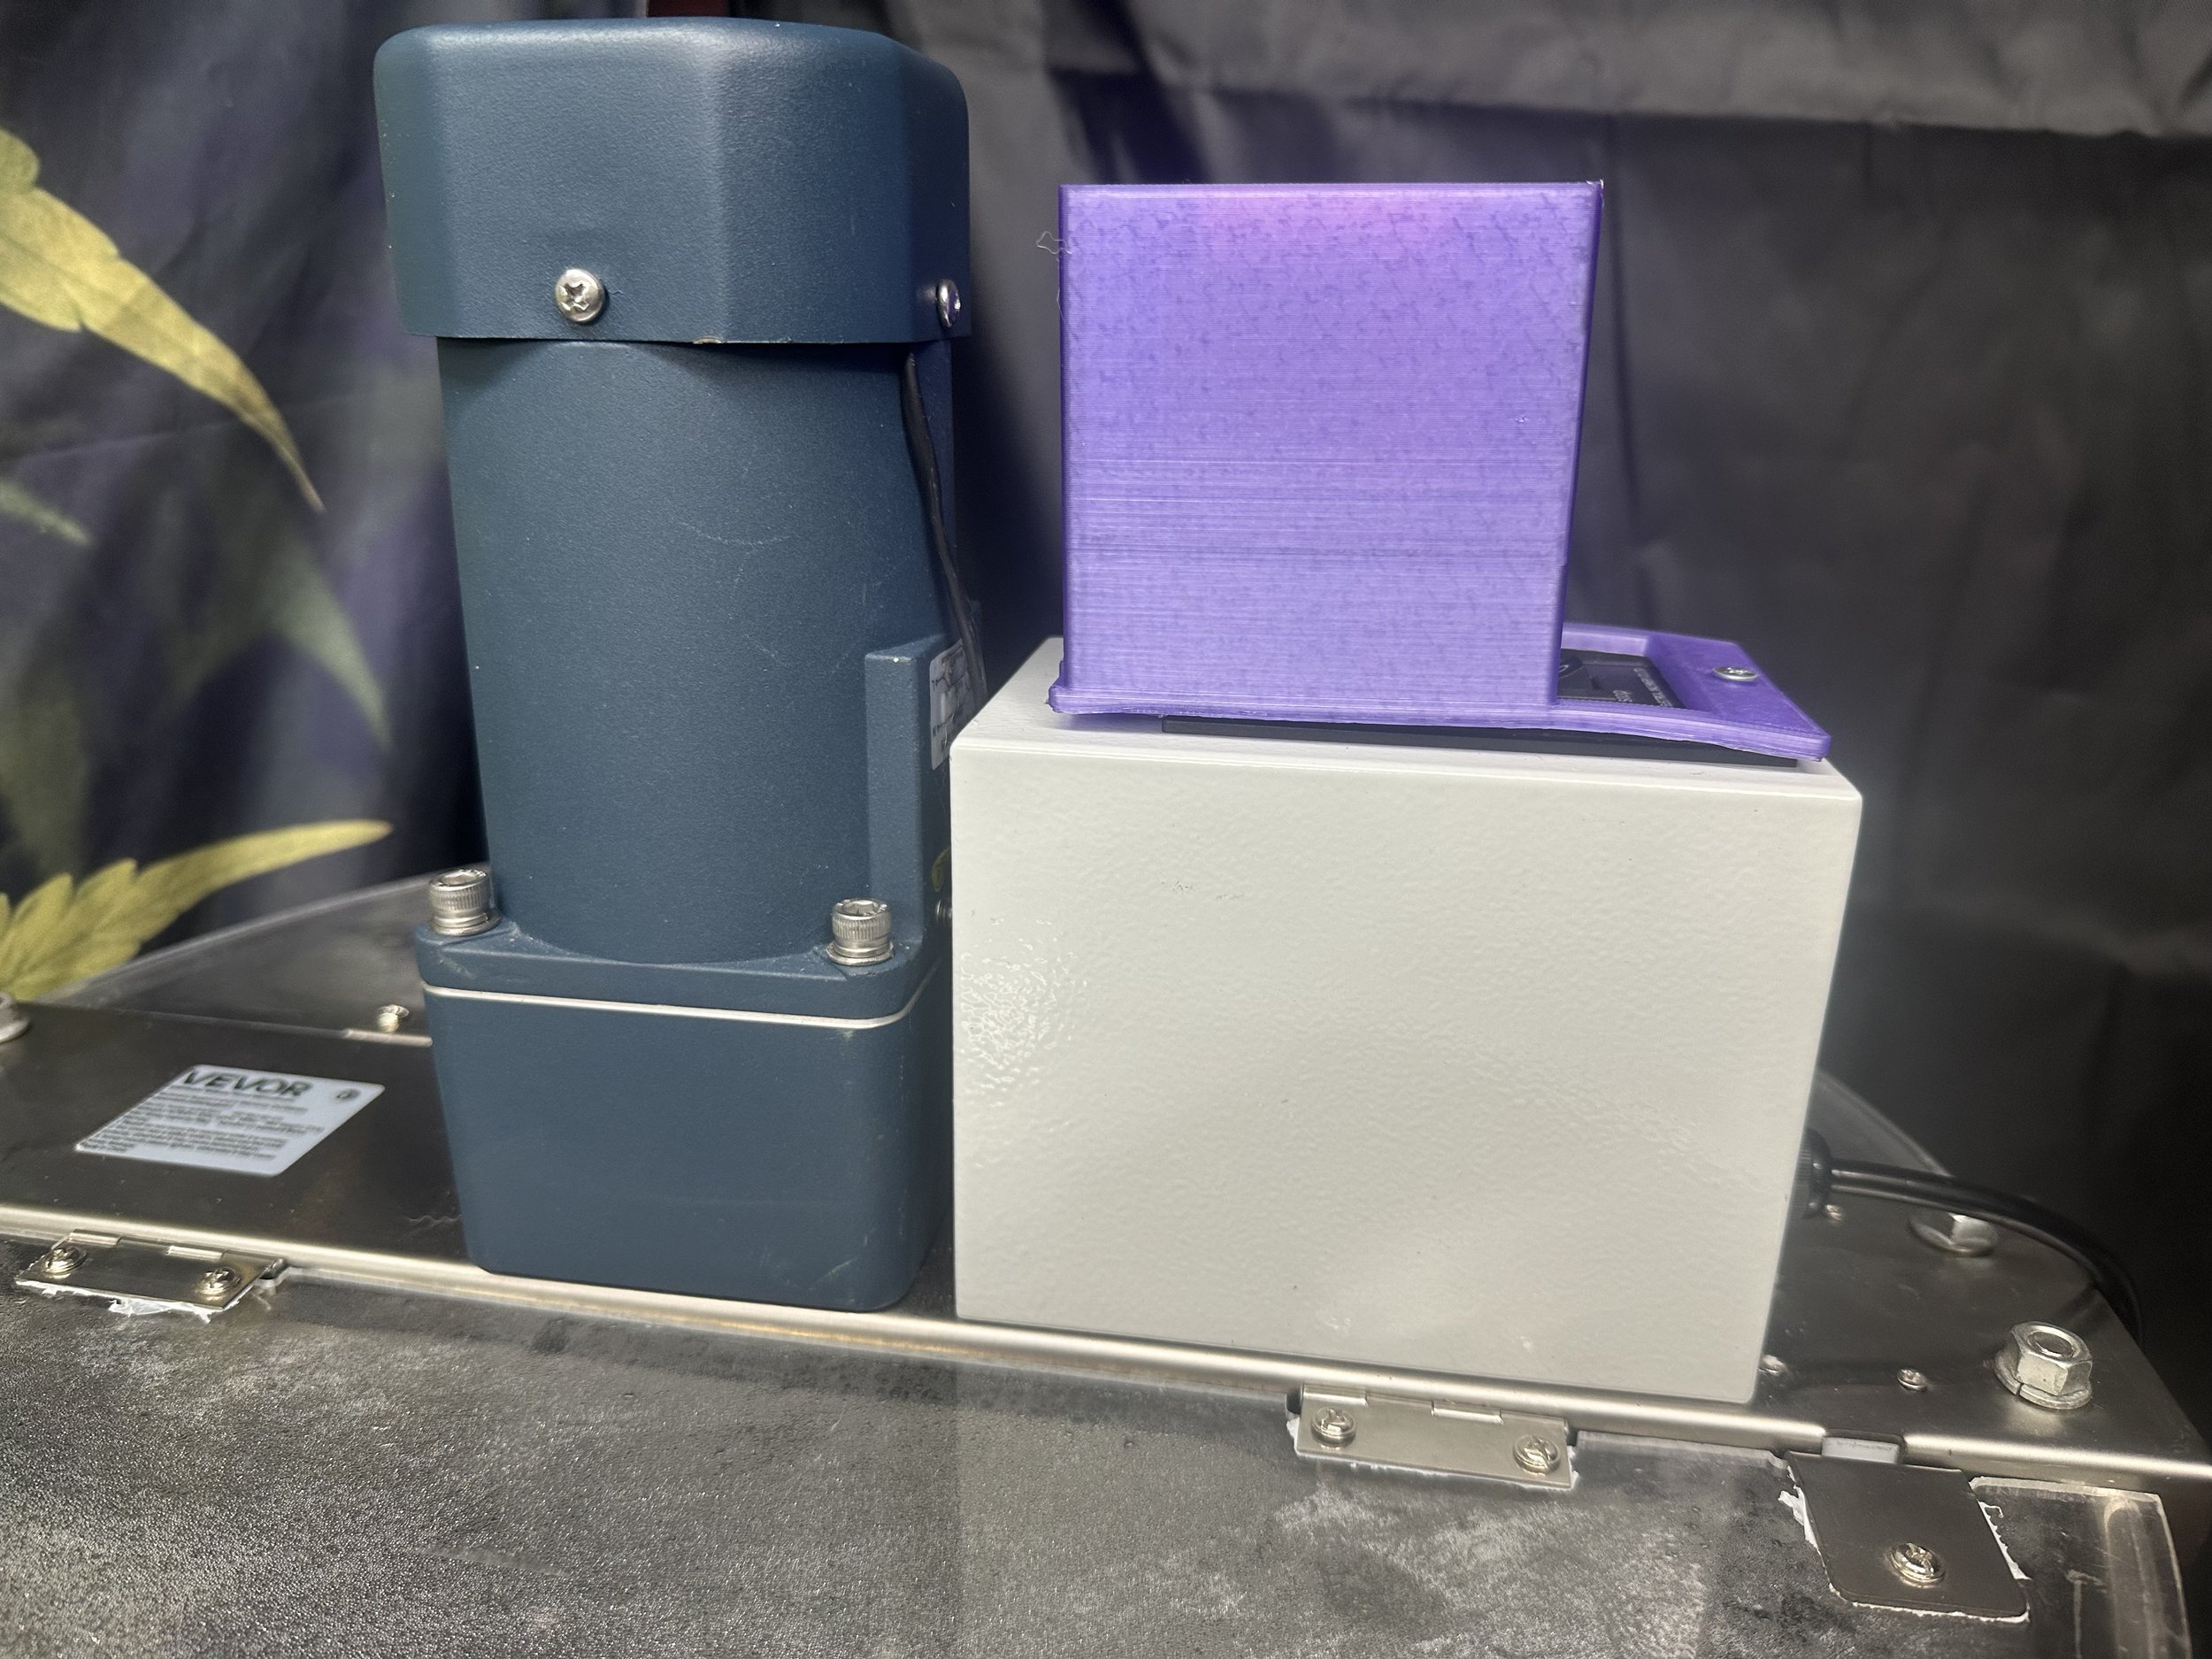
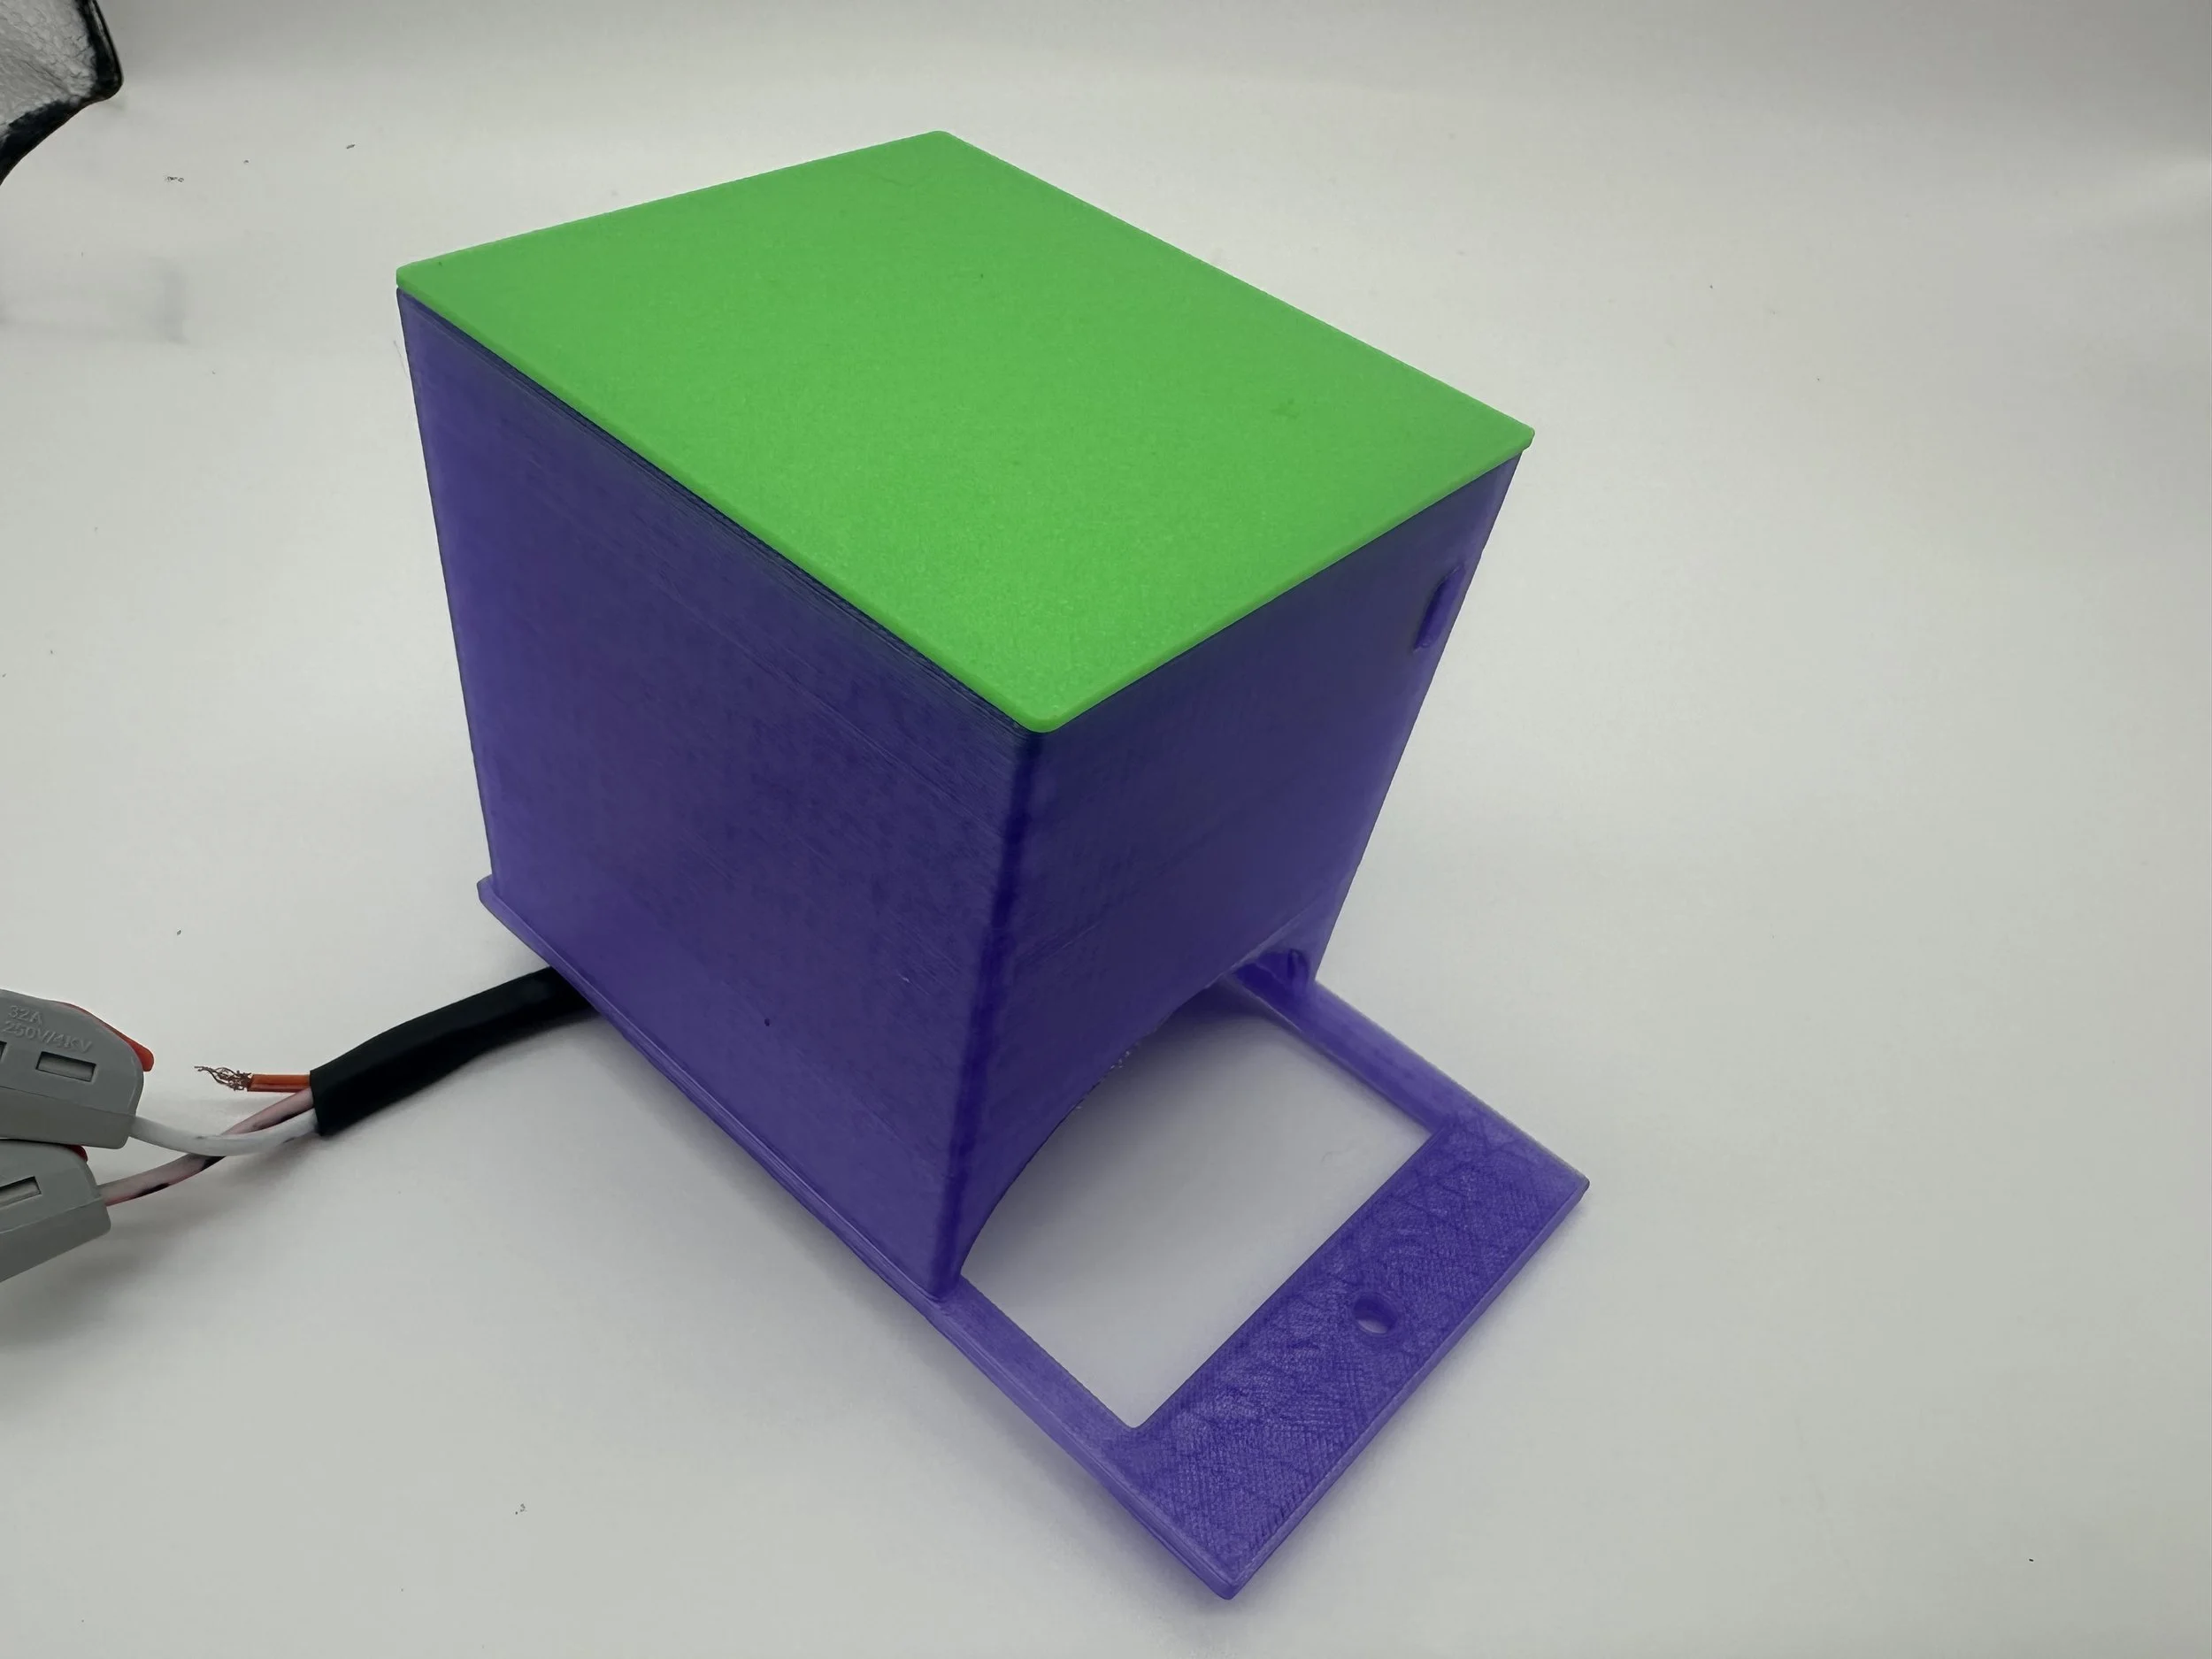
Our flagship controller isn't just a motor driver—it’s the brain of your wash. Housed in a bespoke, polymer casing, it is built to survive the high-humidity environment of a professional lab. By utilizing a stainless steel honey extractor as your foundation and The Calyx Canal Controller as the brain, you can assemble a professional-grade rig in an afternoon.
Precision Torque Control: Protect your glandular heads with customizable motor curves. The controller doesn't just kick on at full speed. It gradually builds the vortex, gently lifting the frozen material into the "Calyx Canal" without the violent initial impact that shatters stalks.
Bespoke Firmware: Using precision PWM (Pulse Width Modulation), you can dial in the exact RPM needed for your specific vessel size. Whether you're running a 10-gallon or a 30-gallon tank, the Canal remains consistent.
Directional Sequencing: The controller manages the "back-and-forth" agitation cycles. These pauses allow the water to settle and the resin to drop, ensuring a clean separation before the next "flow" begins.
The Hardware Manifest
To build the complete system, you will need the following gear:
The Calyx Canal Controller: The proprietary brain that manages flow and agitation.
Automatic Honey Extractor: Your stainless steel vessel and motor housing.
Stainless Steel False Bottom: To keep your material elevated and out of the "collection zone."
2.5-inch Bulkhead: To create a high-flow, leak-proof exit path.
2.5-inch Tri-Clamp 90° Elbows (x2): To direct your "Canal" flow toward the collection bags.
2.5-inch Tri-Clamp Valve: For precision control over your drainage.
Stainless Steel Mixing Paddle: To replace the stock cage and create a gentle, laminar vortex.
Assembly: The Field Conversion
The conversion is a straightforward mechanical swap. No welding or heavy fabrication required.
1. The Plumbing (The Drain Path)
Begin by removing the stock plastic gate from the extractor. Install the 2.5-inch bulkhead through the existing spout hole. Assemble your 90-degree elbows and the Tri-Clamp valve onto the bulkhead. This creates a massive, unobstructed path for your resin-heavy water to exit without clogging.
2. The Interior (The False Bottom & Paddle)
Open the vessel and remove the honey-spinning cage. In its place, mount the Stainless Steel Mixing Paddle. This paddle is the heart of the agitation system. Next, take the Stainless Steel False Bottom and secure it to the base using the existing central bolt at the bottom of the extractor. This creates a dedicated "clean water" floor where the resin can settle safely away from the paddle.
3. The Brain (Installing The Controller)
This is a "Plug-and-Play" integration designed for the stock honey extractor control box:
Wire Sync: Open the stock control box and unplug the three wires leading to the directional switch. Plug these directly into the Calyx Canal Controller.
Interface: Slide the custom coupler onto the existing potentiometer dial.
Secure: Fasten the controller housing to the extractor’s control box using the single mounting screw.
Ready for Launch
Once the wires are seated and the fittings are tightened, you have successfully converted a honey extractor into a high-performance Calyx Canal wash rig. You now have the torque of a commercial motor combined with the precision software required to protect your most delicate trichome heads.
Note: This purchase is for the Calyx Canal Controller only. The honey extractor, plumbing fittings, and internal hardware must be sourced separately to complete the build as described.
To build the complete system, you will need the following gear:
The Calyx Canal Controller: The proprietary brain that manages flow and agitation.
Automatic Honey Extractor: Your stainless steel vessel and motor housing.
Stainless Steel False Bottom: To keep your material elevated and out of the "collection zone."
2.5-inch Bulkhead: To create a high-flow, leak-proof exit path.
2.5-inch Tri-Clamp 90° Elbows (x2): To direct your "Canal" flow toward the collection bags.
2.5-inch Tri-Clamp Valve: For precision control over your drainage.
Stainless Steel Mixing Paddle: To replace the stock cage and create a gentle, laminar vortex.
Assembly: The Field Conversion
The conversion is a straightforward mechanical swap. No welding or heavy fabrication required.
1. The Plumbing
Begin by removing the stock plastic gate from the extractor. Install the 2.5-inch bulkhead through the existing spout hole. Assemble your 90-degree elbows and the Tri-Clamp valve onto the bulkhead. This creates a massive, unobstructed path for your resin-heavy water to exit without clogging.
2. The False Bottom & Paddle
Open the vessel and remove the honey-spinning cage. In its place, mount the Stainless Steel Mixing Paddle. This paddle is the heart of the agitation system. Next, take the Stainless Steel False Bottom and secure it to the base using the existing central bolt at the bottom of the extractor. This creates a dedicated clean water floor where the resin can settle safely away from the paddle.
3. Installing The Controller
This is a "Plug-and-Play" integration designed for the stock honey extractor control box:
Wire Sync: Open the stock control box and unplug the three wires leading to the directional switch. Plug these directly into the Calyx Canal Controller.
Interface: Slide the custom coupler onto the existing potentiometer dial.
Secure: Fasten the controller housing to the extractor’s control box using the single mounting screw.
Ready for Launch
Once the wires are seated and the fittings are tightened, you have successfully converted a honey extractor into a high-performance Calyx Canal wash rig. You now have the torque of a commercial motor combined with the precision software required to protect your most delicate trichome heads.
Please Note: This listing is for The Calyx Canal electronic controller unit only. This is the brain of your lab—the housing, internal circuitry, and proprietary Creekside software. To complete your build, you will need to source your own stainless steel vessel (such as a honey extractor) and a compatible DC gear motor.